Sunday, October 5, 2014

SPOOKTACULAR [Common Core] Way Keep the Learning Going Around Halloween Time!

Candy? Costumes? Parties? Parades? Spooky stories? Staying out until dark? 

Can you blame them for being a little rowdy this time of year? 

Grab a Pumpkin Spice Latte, and relax. 


This Halloween Close Reading lesson requires students to read nonfiction passages from National Geographic about unique, spooky animals. Each of the animals have qualities that are similar to either a vampire, ghost, or monster. Students will then be expected to infer which animal is considered a vampire, ghost, or monster, and provide evidence from the text to support their claim. 


These passages are fascinating, and had my students saying, "MS. MILLER, DID YOU KNOW...?!" 

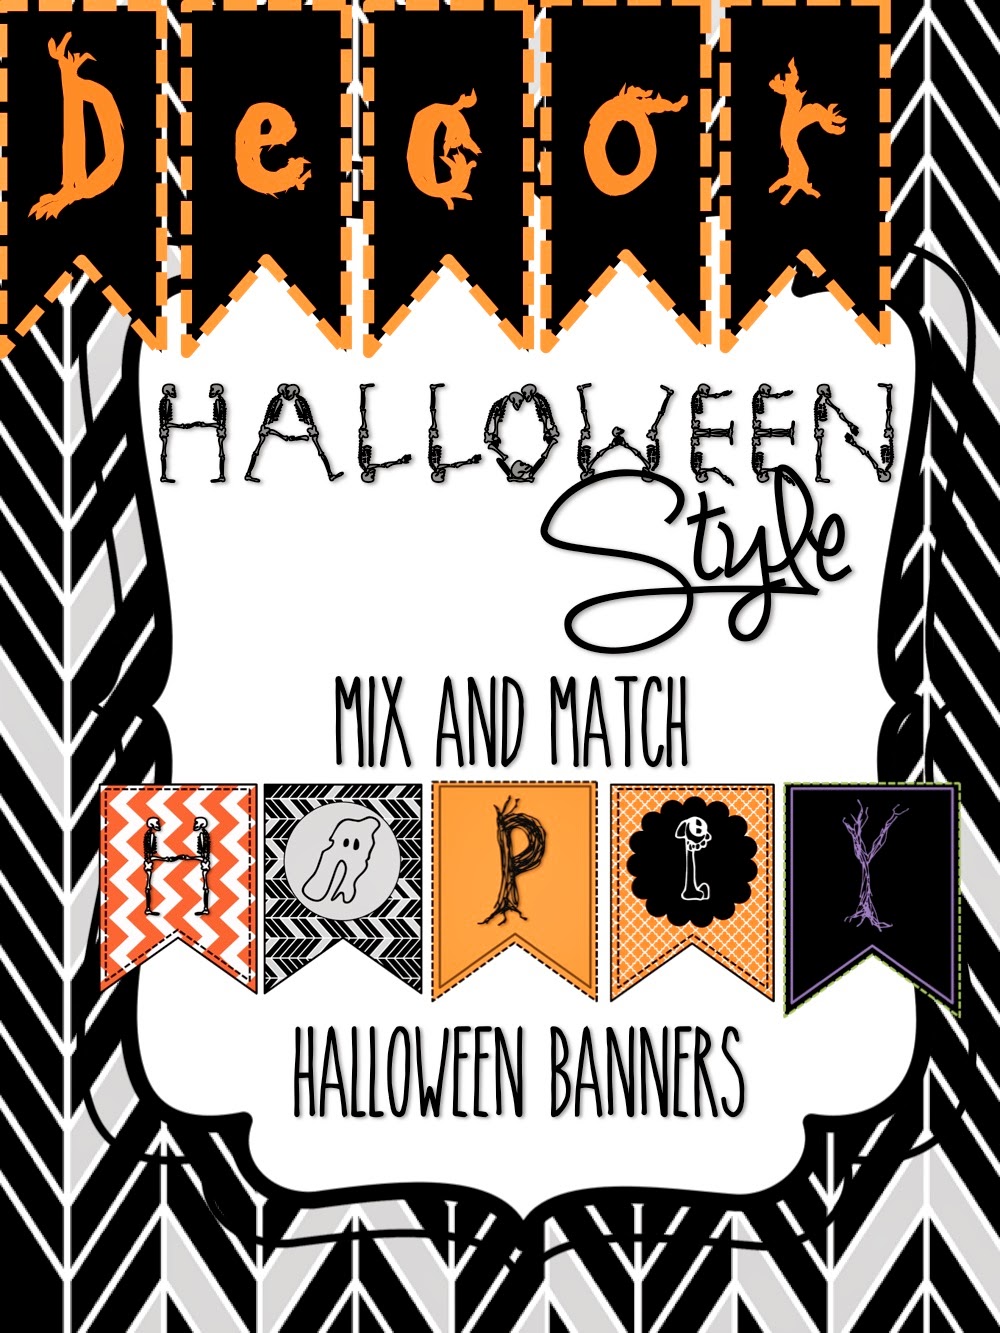
Have a Spooktacular time, and be sure to spruce up your room with some banners as well by stopping by my TPT Store! 

Download

Friday, August 15, 2014

DIY Class Decor in 5 Minutes: How to Make Hanging Tissue Paper Decorations!

Have you gotten classroom envy from some of these Pinteresting teachers and their elaborately decorated classrooms, too? These quick tissue paper crafts will spruce up your room. They're super easy, too! In fact, I had my coworker's first and third grade boys help me. She's REALLY thankful I taught them, too, because now she has some new decor in her house ;).

She also gets to enjoy a little reminder of me ;) haha. 


So funny! Anyway, here's how to make these lovely little guys! 


Here's what you need:

  • 4 pieces of tissue paper 
  • scissors
  • glue gun
  • glue stick or Elmer's glue
  • string/ribbon
  • 1 pipe cleaner (cut in half) or 2 pipe cleaners
Step 1: Get two pieces of tissue paper and line them up. 

Step 2: Fold the tissue paper like an accordion or fan (about 1 inch thick).


Step 3: Repeat steps 1 and 2 to create a second tissue paper "fan."


Step 4: Fold each fan in the middle and wrap a pipe cleaner around it. 


Step 5: Put the middle parts together, and tie a long piece of string or ribbon around. This is the ribbon that the pinwheel will be hanging from. 


Step 6: TRIM so they're all the same length, then GLUE the sides together. 


Step 7: Spread out to create a circle. 


Step 8: Glue ribbon in place. 


Step 9: Hot glue sign in the middle. 


TA DA....Tissue Paper Pinwheels! 

The puffy ball shaped ones (which my coworker's children called, "Cha-Cha Balls," are just as easy! 
Here's what you need: 
  • 7+ pieces of tissue paper (I usually use 8-10 with bigger puffs to make it more full)
  • scissors
  • string/ribbon
  • 1 pipe cleaner 


Follow steps 1-4, but instead of creating two fans, you are creating ONE fan with 7+ pieces. 

Steps 1-4: See above.


Step 5:  Cut round edges on both ends of the fans. 


Step 6: Pull individual pieces of the tissue paper toward the center, but BE CAREFUL! It rips easily! Alternate sides as well. 

Side 1
 Flip -- Side 2

Step 7: FLUFF, and make it full!!


And...TA-DA...CHA CHA BALLS!


Download the table number signs from my TpT store in the "Back to School" section! 

Wednesday, August 13, 2014

Teacher Hack: Easy Way to Get FREE Clipart for REUSE!

I've really enjoyed my experience with Teachers Pay Teachers, and have been pleasantly surprised with how successful my sales have been. Ever since, I've been convincing any teacher who will listen to start an account on Teachers Pay Teachers. 

The most common excuse not to was, "I use a lot of clipart, and I'm nervous about Copyright infringement!" And, "I don't want to pay for images." 

Fear not my fellow cheapskate teachers! I, too, am not a fan on spending money to make activities that will hopefully sell...unless it's REALLYYYY CUTE. Then I'll buy it. 

 This trick just takes a minute: 


  1. Go to Google Images and type in the image you'd like to search
  2. Click "Search Tools" 
  3. Select "Usage Rights" once the menu drops down
  4. Choose "Labeled for Reuse"
Obviously, this limits your search, thus limiting the cuteness of the clipart, but sometimes you'll find a gem. For me, this is a guilt free method if I need to add a little somethin' somethin' to a worksheet. 

It's so easy that I started to have my students do this. I stress the importance of citing sources and not breaking any copyright infringement. Any time they publish something online, I make sure they filter out any images not labeled for reuse. 


Sunday, August 10, 2014

New NONFICTION Common Core Close Reading Activity!

Nonfiction reading is a really large focus of the Common Core Standards. In Social Studies my students learn about the first 3 settlements: Plymouth, Jamestown, and Roanoke. Our textbook doesn't get very "meaty," so supplementing with more engaging text is extremely important to me. Why not throw in a little bit of close reading and technology while I'm at it?

https://learnzillion.com


I've expressed my love of LearnZillion in previous posts, but it's a free website with Common Core close reading lessons organized by standard. It makes me want to shed a tear, but I'll try to keep it together for the rest of this post.

I find it difficult to follow through the lessons without any sort of graphic organizer for my students to use, so I've used LearnZillion's resources, and created my own supplements to make the lesson a little more student-driven and require them to be a more text-dependent.

Take a look at the lesson on LearnZillion, and get the enrichment component through my Jamestown Common Core Close Reading product in my Teachers Pay Teachers store.

I have a similar product (my personal favorite) with the Casey at the Bat poem. Love the poem. Love the rigor. Loveeee this activity! Download here.

Wednesday, August 6, 2014

5 Great Ways to Get Your Students Thinking Abstractly About Words

Word work and vocabulary are such important parts to literacy instruction. I'm currently working toward my masters in reading, and will soon be a reading specialist. Through this opportunity, I've learned an abundance of strategies to not only reinforce skills students, but add rigor to my literacy instruction. My Teachers Pay Teachers store has a great item with 5 word work strategies that can be easily implemented with essentially any reading program. These activities require students to think abstractly about words, and then the new words will stick longer! I like to use these with content vocabulary. Click on the images to download!


Sunday, August 3, 2014

10 Ways to Start Out the First Week of School...Like a 21st Century Teacher!


Common Core, Habits of Mind, and the Charlotte Danielson framework have a large focus on student-driven learning. Here are ten ways to have your students own their learning from Day One!


  1. Allow students to organize the classroom library.
    •  For all you OCD teachers out there, this isn't as scary as it sounds! When I have students organize the library, I introduce three jobs: Macho Men/Women, Label Masters, and Organizers. The Macho Men/Women carry the bins of books from one place to another. They need to communicate with both the Label Masters and the Organizers to figure out where the books go. The Label Masters identify categories of books and label them for other students. The Organizers sift through all of the books and put them into categories. All of the students tend to be Organizers at some point or another. I don't assign them roles, and I don't expect them to stay with one role the entire time. I simply explain the roles and give students free reign. What are the benefits to this activity? You can see the students who take on leadership roles, and those who need help. It is clear which students work well together, and ones who do not. Students get to see all of the books in the library and find books that interest them. Most importantly -- it gets students excited about reading! 
  2. Assist students in creating an online portfolio to document student learning. 
    • Allow each student in the class to create an online portfolio to document their work. This can be in the form of a blog with regular updates, or a website with links and pictures of projects completed by the student. Play around with what website you want to host this on. Two great options include Google and Weebly. Last year I used Weebly, but I think I'm going to switch to Google this year. As a first week of school activity, I start out with having students do an about me page so they can familiarize themselves with the program. What are the benefits to this activity? It allows for great student-parent-teacher communication. This is evidence of all the great things you and your students are doing in the classroom!  
  3. Introduce a Help Wanted board. 
    • I used a help wanted board for a student-driven project last year, but there's no reason it can't be used from day one. Simply put a sign that says, "HELP WANTED," on an easily accessible bulletin board. Designate one color post it or notecard for questions and another color for answers or suggestions. Designate appropriate times for students to access the Help Wanted board, and allow them to use each other as a resource. Make it as focused or as vague as you want. This could be help in a specific subject, random quandaries, tech questions, book recommendations, or all of the above! If technology is easily accessible, consider adding an online Help Wanted board. Padlet would be a great website to host a Help Wanted board. What are the benefits to this activity? It helps create an environment where students are dependent on each other. This promotes curiosity! It helps meet the needs of students in another way! This provides opportunities for students of all levels to help one another.  Make the interactive bulletin board instantly by downloading the FREEBIE from my TPT Store! 
  4. Designate TECHsperts (or other experts). 
    • Embrace students' strengths by allowing them to complete an expert application. The application should require students to reflect on traits and qualities they possess that make them reliable resources for students. I make this optional. Select the student expert, and let students know that this is the initial go-to person in this area of the classroom.  What are the benefits to this? This makes students feel special and needed in the classroom. It gives students a sense of responsibility in the classroom. This embraces all kinds of talents. Enjoy my freebie of a classroom application!
  5. Implement the stoplight cup procedure. 
    • This is more of a classroom management tool that requires students to reflect on their immediate needs. When students are working in a group or on some sort of student-driven project, provide students with three solo cups -- red, yellow, and green. Red = I need help and can't move foreword without it. Yellow = I need help, but can work on something else in the mean time, it's not urgent, or a classmate might be able to help. Green = I'm working hard! What are the benefits to this procedure? This requires students to reflect on their needs and how the teacher can assist. It encourages students to rely on peers for help. Visually, it's totally manageable for teachers to see which students need help!
  6. Implement a student-led positive reinforcement plan.  
    • Students enjoy compliments for good behavior, and being recognized for what they do right. Want to know what they love more? When OTHER students are the ones pointing out these things! Bucket filling is a common positive reinforcement plan, but I put my own spin on it since we were reading the book Wonder by R.J. Palacio. Take a look at it in my TPT Store to download my Wonder by R.J. Palacio Wonderful Student Positive Reinforcement Bundle. What are the benefits to this? It makes students feel good about themselves, and gives all students a chance to stand out. 
  7. Write goals with your students, both academic and behavioral...Then REFLECT!
    • Holding students responsible for their own learning is extremely important. I incorporate students' goals into their online portfolio. Students reflect each week in their blog as well. Click here for the Weekly Reflection Prompt FreebieWhat are the benefits to this activity? Writing and setting goals hold students responsible for their own learning. 
  8. Start a class newsletter. 
    • Give students choice and freedom to write about the classroom happenings. Be sure each student is assigned a role (ie. editor, advice column, math report, reading report, book review, PE sports report, etc.) Rotate roles and publish the newspaper weekly, biweekly, or monthly. Switch up the roles each time so students get a chance to write something new, and get creative with topics! What are the benefits to this activity? This keeps parent-teacher-student communication open. It takes less time on the teacher's end (crafting newsletters can be extremely time-consuming). Students are able to practice writing skills in an authentic way. This allows students to be reflective of what they are learning. 
  9. Write classroom rules and expectations together. 
    • Create an anchor chart (or something along those lines) and provide students with post-its. Brainstorm expectations of the classroom. To guide students a little more, I make these anchor charts very focused, here are some examples: "What Reading Looks Like," "When to Use a [insert volume] Voice," "What I am Doing vs. What the Teacher is Doing." What are the benefits to this activity? This allows students to be reflective of what their expectations are. It allows students to feel as if they are part of the classroom community. Students are held responsible for their actions.
  10. Partake in a collaborative technology project. 
    • Use this as a way to familiarize your students with technology. Provide students with a task, such as creating a How-To of classroom procedures or informative posters for the classroom, and allow students to work together in a group to complete the task. Challenge your students to problem-solve with technology by not allowing them to use a voice! I'd use Google Drive to do this activity. Any Wiki would do, though! What are the benefits to this activity? This allows students to experiment with technology and rely on others for assistance. 


Click here to see how the Danielson framework and Common Core Standards align. 

Thursday, July 31, 2014

DIY Scratch Off Lottery Ticket for Positive Reinforcement

What do you get when you mix acrylic paint and Dawn dish soap? The perfect concoction for a DIY scratch off lottery ticket to get your little nuggets excited!

LAMINATE your paper (or put a layer of tap over the scratch off area)
1 part dish soap
2 parts acrylic paint
MIX, then layer on a couple coats!


I use this as a class reward, so if students complete their homework and don't need any behavior reminders, they earn one of these! I also plan to put a little Valentine's Day spin on these a little later in the year!

Happy Crafting!

Friday, July 25, 2014

How Kahoot Made My Students Give a [ka]Hoot!

I was finding it challenging to motivate my students toward the end of the year last year, and I knew I needed to add some fun, interactive activities to keep my kiddos engaged!

One of the coworkers I carpool with was fiddling around on Twitter and asked me if I had ever heard about Kahoot! The second I got to a computer, I played around with  it a little bit, and within 5-10 minutes I had the next day's Science review made and ready to go! Kahoot had a search engine with quizzes that were already made, and it was simple to tweak and add more questions. I added videos and pictures to allow students to apply their knowledge better. 

The day I first used Kahoot was really exciting for our class. I had students partner up and use iPads. They got to create usernames (which were hilarious, ie. Geniu$$$$, etc.) and had to work quickly and quietly to answer the questions. As soon as the game was done, they were begging to play again. 

Kahoot was simple enough to create that I gave students the opportunity to create a review for another subject. This required the students to think about possible answers that other students may select. It required the students to go back into their notes and books to confirm the correct answers. Finally, students practiced questioning skills by coming up with questions that required higher level thinking. Ahh...student-driven learning at it's finest! 


How have you used Kahoot? 

Tuesday, July 22, 2014

Harry Potter Classroom Decor

Go to my Teachers Pay Teachers store to download Harry Potter Classroom Decor. I'm currently working on making a Harry Potter bundle. I teach a Summer at Hogwarts summer camp through my district! This is where I use the Harry Potter classroom decor!


Harry Potter (JK Rowling) Classroom Decor Bundle includes:

Editable Banner (Recommended: Download Harry P. Font from dafont.com)
Table Names
Student Jobs (HP Themed)
Behavior Management Chart
Word Wall Letters (or Leveled Library letters)
Classroom Numbers
Platform 9 3/4 Sign
Schedule Signs

Check out the Harry Potter Book Quote Printables from my Quote Printables section of my store! They would be a great addition to your classroom decor!

Wednesday, July 16, 2014

Teacher Hack: Oh the Places You'll Use Address Labels...


Other than the obvious use, address labels can be life savers in the teaching world! Here are a couple ways I use address labels!


  1. Folder Labels - Pre make labels for folders or notebooks with the subjects already typed on it. Edit it by putting in the student's name as well, and hand the student their sheet of labels on the first day of school! This makes labeling and organization much more manageable! 
  2. Parent Communication - Have a student regularly forgetting their homework? Type up a short message that states that the student forgot their homework. Put the address label in their assignment notebook, and have the parents sign it. 
  3. Rubrics - Like this blogger, I've found it simple to print out short rubrics on an address label. This provides basic feedback to students quickly! 
  4. Praise - In my Wonder (R.J. Palacio) Positive Reinforcement Plan, I have address labels that say, "Ask me why I'm WONDER ful." Students can wear this sticker around school, and the principal, other teachers, classmates, and parents can ask how the student earned this sticker!
  5. Reminders - Type up a short reminder and have each student put the address label in their assignment notebook, on a test, or on their FOREHEAD! Now they CAN'T forget! 
Keep your eye out for more Teacher Hacks!